What’s the Deal with Tarte Concealer?
Let’s clear up one common misconception right off the bat: Knowing how to apply Tarte concealer isn’t just about covering up flaws. If you’re using Tarte concealer just to hide blemishes or dark circles, you’re missing out on the magic it can bring to your makeup routine.
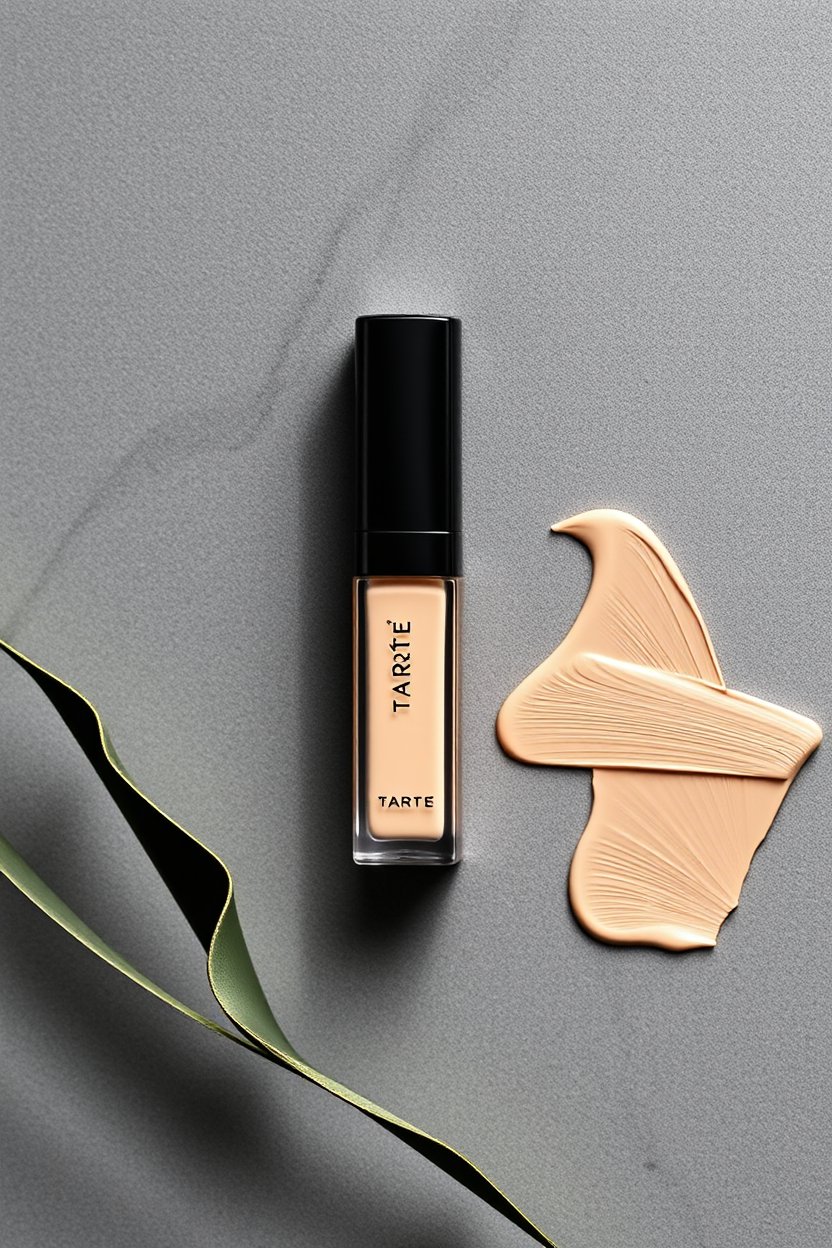
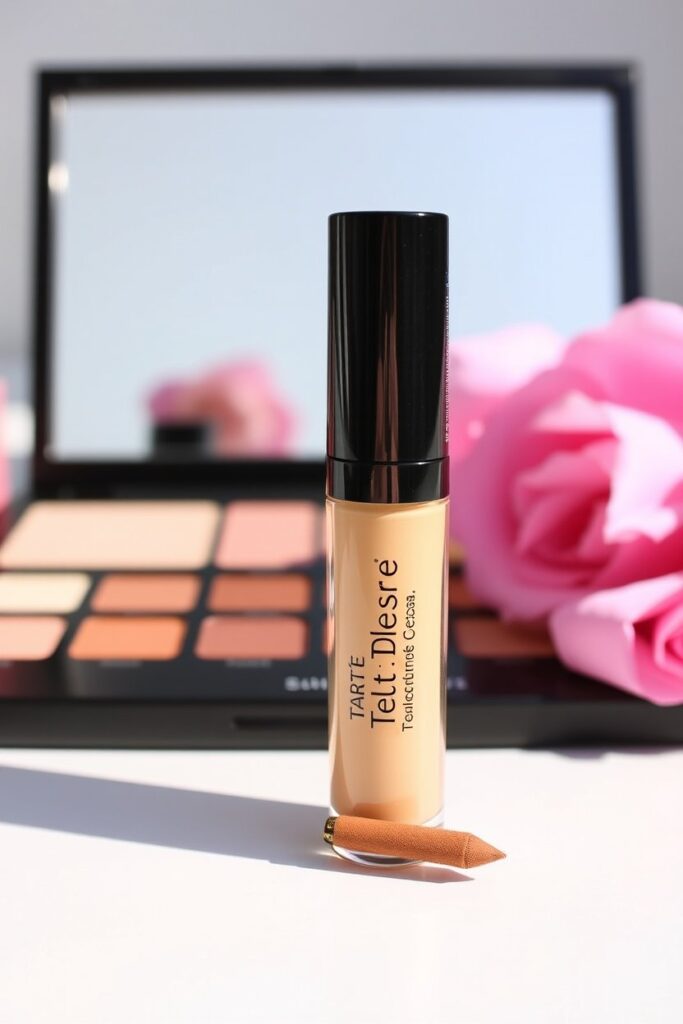
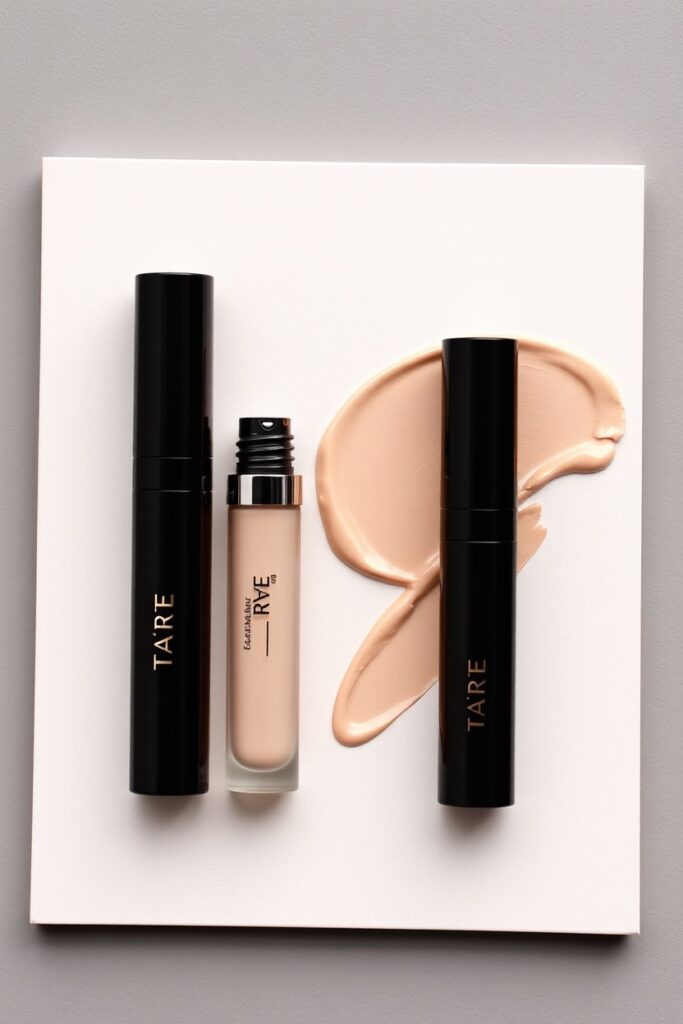
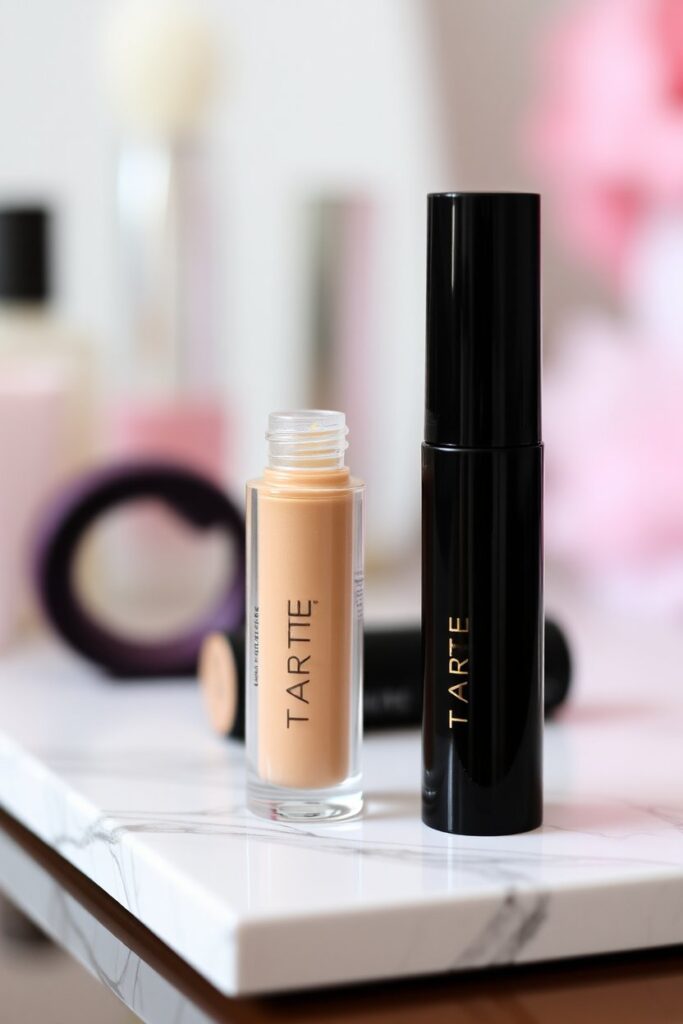
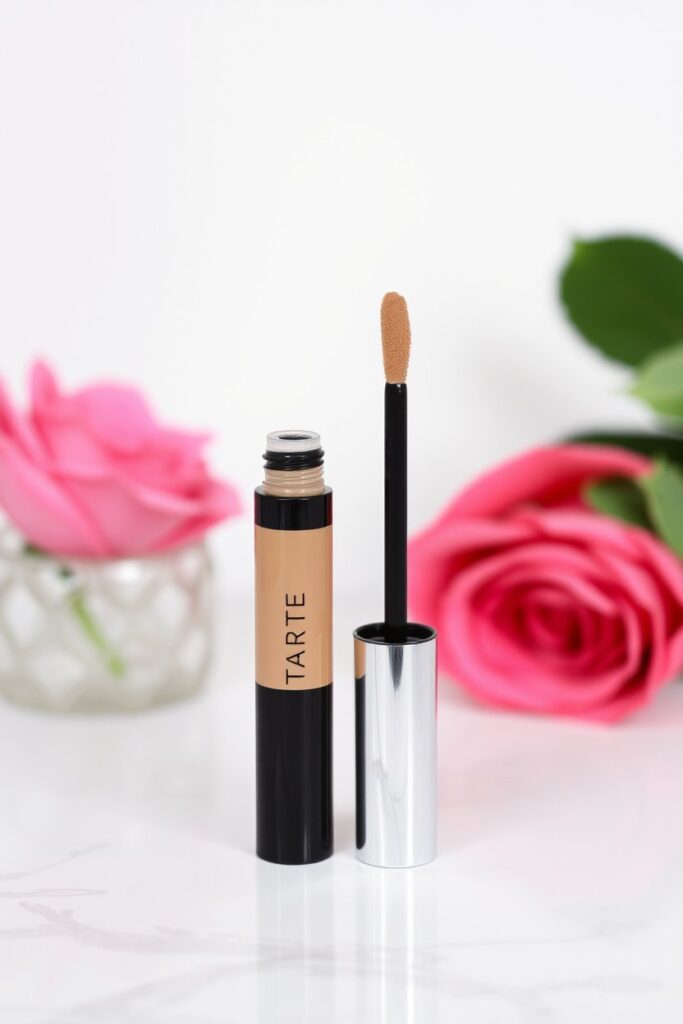
Tarte concealer, especially the beloved Shape Tape, isn’t just about hiding imperfections—it’s about enhancing your natural beauty and creating a flawless base that makes your entire look pop.
Tarte concealer has gained a cult following for a reason. It’s not just about the full coverage; it’s about the way it blends seamlessly into your skin, leaving a natural finish that lasts all day.
Whether you’re dealing with dark circles, redness, or just need a little extra coverage, knowing how to apply Tarte concealer properly can do it all. But the key to getting the most out of it lies in mastering the application techniques. That’s exactly what we’re going to dive into.
Why Knowing Tarte Concealer Matters
You might think learning how to apply Tarte concealer is as simple as dotting it on and blending it out, right? Well, there’s a bit more to it than that, especially when you’re using a product as powerful as Tarte’s Shape Tape.
Applying Tarte concealer the right way can be the difference between a flawless finish that lasts all day and a cakey mess that creases by lunchtime.
So why does it matter? Because when applied correctly, Tarte concealer does more than just cover. It brightens, lifts, and enhances your complexion, giving you that fresh, awake look even if you’ve only had a few hours of sleep. Plus, proper application ensures that your concealer stays put, no matter what your day throws at you.
But before we jump into the actual process of how to apply Tarte concealer, let’s talk about prepping your skin. This step is crucial, especially if you want to avoid common issues like creasing or fading throughout the day.
Prepping Your Skin for Tarte Concealer
Before you even think about how to apply Tarte concealer, you need to make sure your skin is ready for it. Think of your skin as a canvas—the smoother and more even it is, the better your makeup will look. Here’s how you can prep your skin for flawless concealer application.
Start with a Clean Canvas
The first step in prepping your skin is making sure it’s clean and moisturized. You wouldn’t paint on a dirty canvas, right? The same goes for your skin. Cleanse your face with a gentle cleanser that suits your skin type. This helps to remove any dirt, oil, or leftover makeup that could interfere with how your concealer sits on your skin.
Next, apply a moisturizer. This is especially important if you have dry skin because Tarte concealer is known for its full coverage, which can sometimes cling to dry patches. If your skin is oily, opt for a lightweight, oil-free moisturizer. And if you’re dealing with combination skin, focus on hydrating the drier areas without adding too much moisture to your oily zones.
Hydrated skin ensures that your Tarte concealer glides on smoothly and blends effortlessly, giving you that seamless, natural finish.
For those with specific skin concerns, like redness or uneven texture, you might want to consider using a primer. A good primer not only smooths out your skin but also helps your makeup last longer.
If you have oily skin, a mattifying primer can help control shine and keep your concealer in place all day. On the other hand, if your skin is dry or mature, a hydrating primer can provide the extra moisture your skin needs to prevent your concealer from settling into fine lines.
Choosing the Right Concealer Shade
Now that your skin is prepped, the next step in learning how to apply Tarte concealer is choosing the right shade. This is where a lot of people get tripped up, but it’s actually simpler than you might think. The key is to pick a shade that not only matches your skin tone but also complements your undertone.
Tarte offers a wide range of shades, so you’re bound to find one that works for you. If you’re looking to brighten your under-eye area, go for a shade that’s one or two shades lighter than your skin tone. But if you’re covering blemishes or dark spots, you’ll want a shade that matches your skin tone as closely as possible to avoid drawing attention to those areas.
Undertone is another crucial factor to consider. If you have warm undertones, look for a concealer with a yellow or peach base. If your undertones are cool, a pink or neutral base might work better for you. And if you’re unsure about your undertone, Tarte’s website offers a handy shade-matching tool that can help you find your perfect match.
Getting the shade right is half the battle won. A well-matched concealer will blend seamlessly into your skin, giving you that natural, flawless look without any tell-tale lines or patches.
By now, you’re well on your way to mastering the art of how to apply Tarte concealer. You’ve prepped your skin, chosen the right shade, and you’re ready to dive into the actual application process, which we’ll cover in the next section. Stay tuned for more tips and tricks to make the most out of your Tarte concealer!
The Basics of Applying Concealer
Let’s tackle another common myth: Knowing how to apply Tarte concealer is not just about hiding dark circles and blemishes. It’s an art form that can elevate your entire makeup routine, and when done right, it can give you that natural, flawless finish that we all crave.
Many believe that slapping on some concealer will do the trick, but in reality, the application technique is just as important as the product itself—especially when it comes to Tarte concealer.
Tarte Concealer for a Natural Look
Achieving a natural look with Tarte concealer is easier than you might think, but it requires a little more finesse than just dotting it on and hoping for the best. Here’s how you can master the basics of how to apply Tarte concealer and get that coveted “I woke up like this” look.
The Basics of Tarte Concealer Application
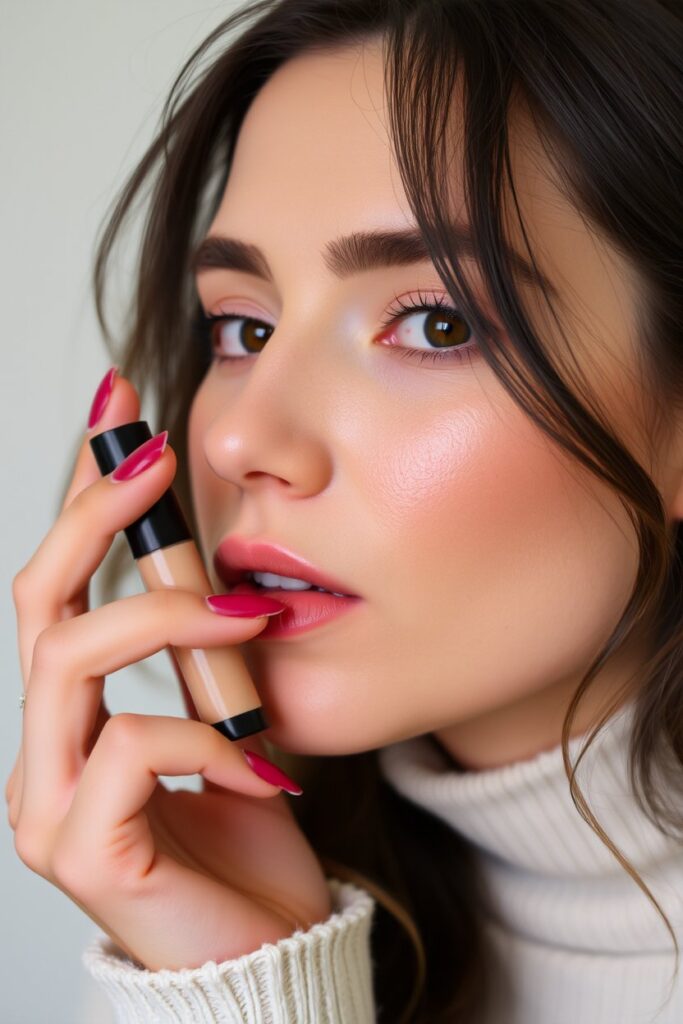
First things first: less is more. It’s tempting to pile on the product, especially if you’re trying to cover up something stubborn like a dark circle or a blemish. But with Tarte concealer, a little goes a long way. Start by applying small dots of concealer under your eyes, on the sides of your nose, and anywhere else you need a bit of extra coverage.
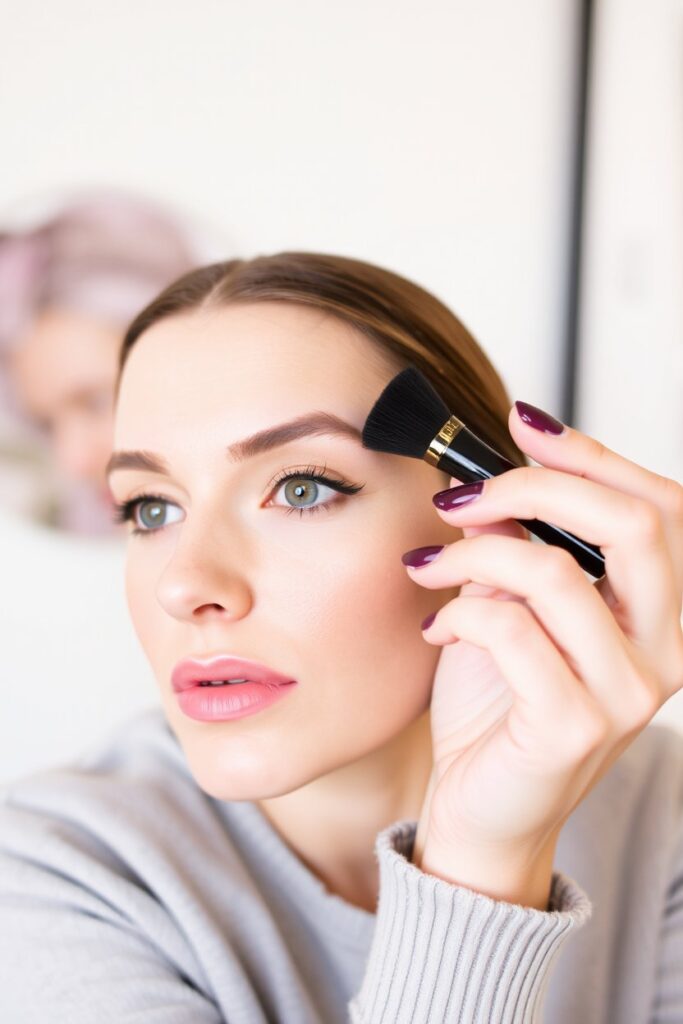
Use a light hand to blend the concealer into your skin. You can use your fingers, a brush, or a beauty blender—whichever you prefer. Each tool has its benefits: using your fingers warms up the product, making it easier to blend; a brush gives you more precision, especially in hard-to-reach areas; and a beauty blender can help achieve that airbrushed finish.
For a natural look, focus on blending the edges of the concealer so that it seamlessly melts into your skin, leaving no harsh lines or noticeable patches.
Don’t forget to blend your concealer into your foundation or the rest of your makeup. This step ensures that your concealer doesn’t stand out and that your overall makeup look is cohesive. If you’re applying foundation as well, you can either apply the concealer before or after, depending on the type of coverage you’re going for.
Blending Techniques for a Seamless Finish
Blending is where the magic happens in the process of how to apply Tarte concealer. To avoid the dreaded cakey or creased look, take your time with this step. Start by tapping (not rubbing) the concealer into your skin. If you’re using a beauty blender, use a dabbing motion to press the concealer into your skin rather than dragging it across your face.
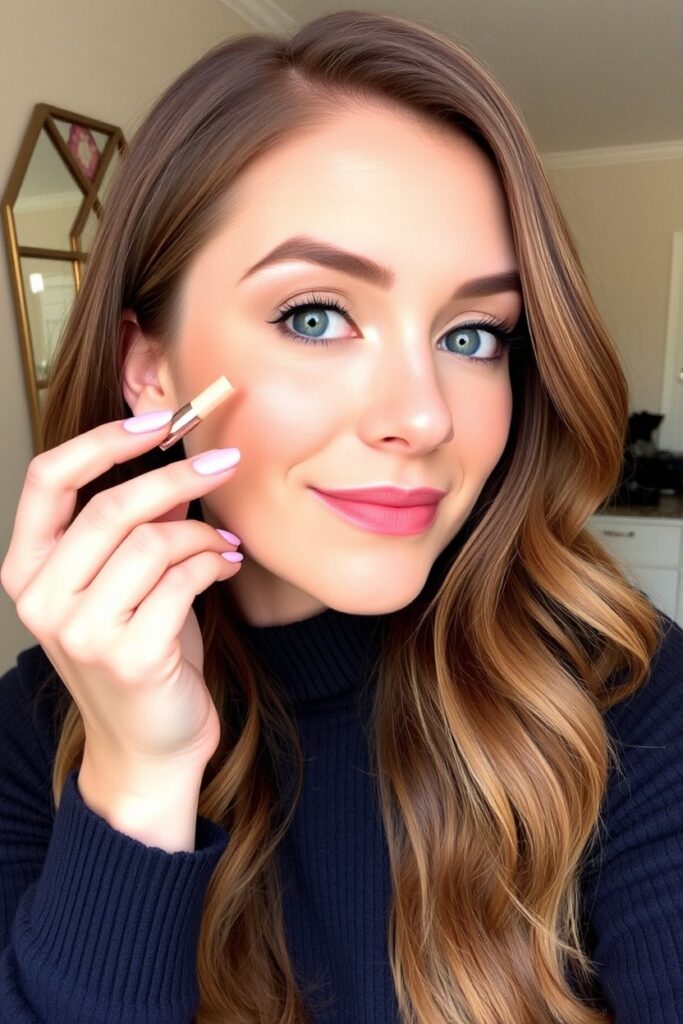
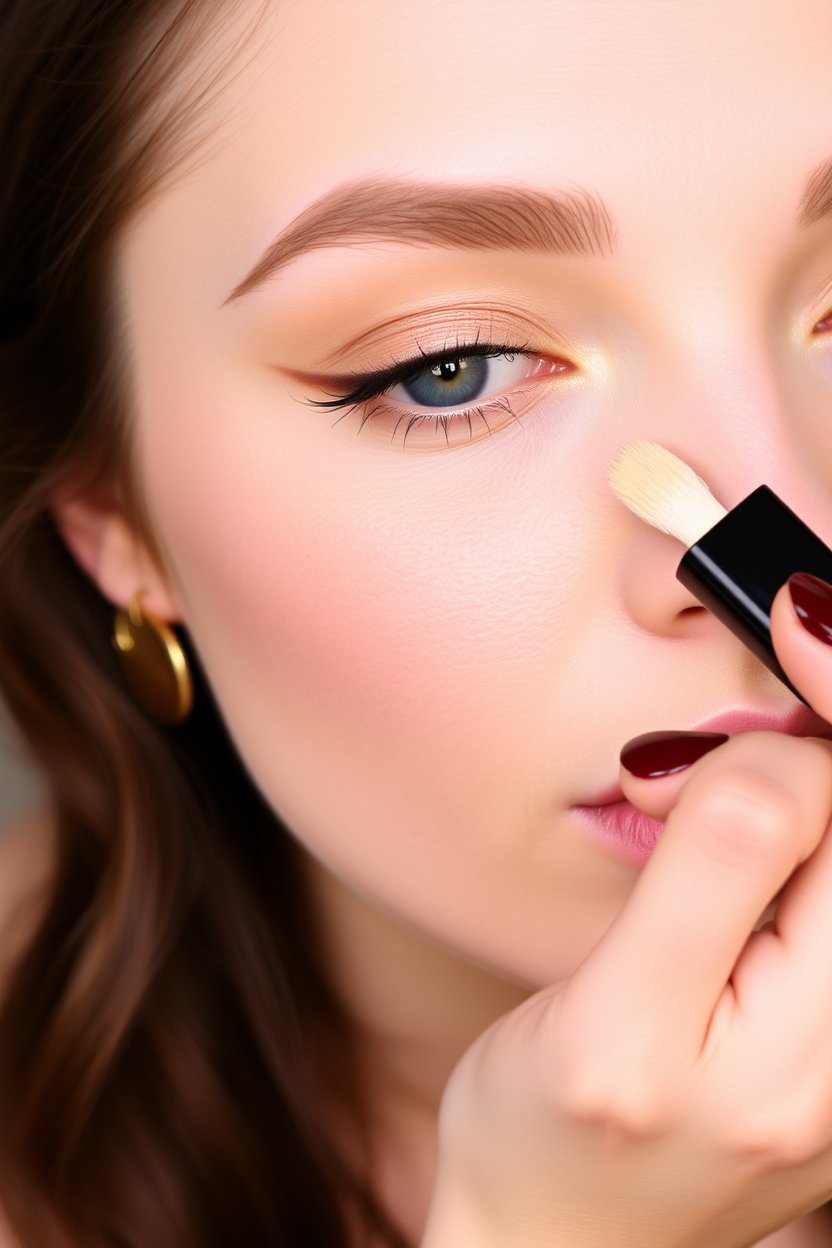
When it comes to blending under the eyes, which is where most people use Tarte concealer, the goal is to brighten and lift the area. Start by applying the concealer in a triangle shape under your eyes, with the base of the triangle along your lower lash line and the point extending toward your cheek. This technique helps to not only cover dark circles but also to lift and brighten the entire area.
For blemishes or dark spots, use a more targeted approach. Apply a small amount of concealer directly on the blemish and gently blend the edges until it seamlessly blends with your foundation. Remember, the key is to keep the coverage concentrated on the problem area without over-blending it into the surrounding skin.
To finish off, you can set your concealer with a light dusting of setting powder, especially if you have oily skin or if you want your makeup to last all day. This step helps to lock everything in place and prevent your concealer from moving or settling into fine lines.
Advanced Techniques: Using Concealer for Contouring and Highlighting
Now that you’ve mastered the basics of how to apply Tarte concealer, let’s step it up a notch with some advanced techniques. Tarte concealer isn’t just for covering up—it can also be used to contour and highlight, giving you that sculpted, defined look that’s perfect for special occasions or when you just want to feel extra fabulous.
Contouring with Tarte Shape Tape
Contouring with Tarte concealer is a game-changer. The key is to use a concealer that’s a few shades darker than your


